top of page
Powder Coated Epoxy Primer
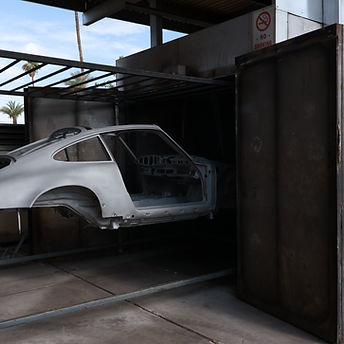
Once your project is stripped, protecting it from rust is crucial. That's why we've expanded our services to include epoxy primer application, a superior solution for long-lasting corrosion resistance.
We apply PPG's Conductive Epoxy Ultra Primer using our advanced powder coating equipment, including a 20-foot oven and dedicated booth. This ensures a remarkably uniform and durable finish, offering exceptional protection for your metal projects.


bottom of page